Wednesday, August 31, 2011

Reduce Photo Paper Wastage (Idea 2 of 3)

Hello!  I'm back with my next idea for reducing photo-paper wastage.  Today's idea is to print photos as a collage (see below).  Doing this allowed me to get photos of different sizes all printed on one 8x10" sheet.  And since I didn't do any physical cropping of prints, I didn't have to throw any wasted photo paper in the garbage bin.

Supplies: assorted solid cardstock (all from Wausau Paper), stickers (all from Doodlebug Design), corner rounder (Creative Memories), pen (Zig), collage printing service (walgreens.com)

When I use this technique, I have my photo collages printed at Walgreens.  When I upload my photos to walgreens.com, I can choose from a variety of sizes and styles of collages.  Since I already had a color-scheme in mind for this page, I chose a bright orange color for my collage background.  Walgreens offers a variety of background colors, ranging from brights to pastels to neutrals.  You can have your collage mailed to you, or you can pick it up at your local Walgreens store.


I broke up the straight lines of my collage with a strategically-placed flower sticker (above).


I also dressed up one letter in my title with a flower sticker (above).


Could those animal stickers (four photos above) from Doodlebug Design be any cuter?  I think not!  Just seeing them puts a smile on my face.  I also love how well they coordinate with the Doodlebug border sticker that I placed at the top of the page.

Thanks for stopping by my blog.  I'll be back later this week with the final post in this little series on reducing photo paper wastage.  In the mean time, I have a question for you.  Do you ever have trouble with Blogger displaying your list of followers?  Sometimes I can see my followers list, and sometimes I can't.  Reloading the page makes the list appear sometimes, but not others.  I can't see any rhyme or reason to this.  Thanks in advance for any suggestions you may have.

Monday, August 29, 2011

Reduce Photo Paper Wastage (Idea 1 of 3)

The way I see it, scrapbooking is already a pretty green hobby.  I mean, it's all about using scraps, after all.  :)  Still, I'm always looking for ways to make my projects even more environmentally friendly.  One thing I've been concerned about lately is the amount of photo paper that I end up throwing in the garbage.  Unlike scrapbooking paper, photo paper cannot be recycled--at least, not where I live.  I like to crop my photos so that I can fit more on a page, but that leads to a lot of waste.  So, I decided to challenge myself to reduce my photo paper wastage.  Thus far, I've come up with three ideas, and in this post I'll share my first idea with you.

My first idea is to print smaller photos.  That way, I won't have to do so much cropping.  Here (below) is a layout called "Penny Carnival" that I made with wallet-sized photos.

Supplies: cardstock (Wausau Paper), patterned paper (all from October Afternoon), alphabet stickers (all from October Afternoon), ink (Memories by Stewart Superior), buttons (all from October Afternoon), chipboard and ticket (from October Afternoon "5 & Dime" miscellany pack), thread (DMC), adhesive (3M dry and 3M foam adhesive).

This was a fun layout to create.  I feel like I put a lot of photos and embellishments on the page, yet it does not feel too cluttered.  After this successful first attempt, I will definitely be doing more layouts with wallet-sized photos in the future.  But I still have other ideas about how to reduce my photo paper wastage, so check back later in the week for two more posts on this topic.

As always, thanks for stopping by to check out my blog.  And if you have any tips about how to reduce photo paper wastage, please leave me a comment to let me know!

Saturday, August 27, 2011

Lessology

It's great to connect with so many like-minded environmentalists via the blogosphere!  A newly-created group that has caught my eye recently is Lessology, a challenge community dedicated to altered art, with a requirement to use at least one repurposed item in each project.  They currently have a DT call going on, so I thought I'd create a project.  This is what I came up with (photos below)...

Supplies: orange paper (BasicGrey), dark brown paper (My Mind's Eye), striped airmail paper (October Afternoon), twine (vintage--from my husband's grandmother), alphabet stickers (BasicGrey), dry adhesive (3M), foam adhesive (3M), brown ink (Versa Color), standard office hole punch, doll-shaped bead, canceled postage stamps, toy label.

Additional supplies for lid: red paper (BasicGrey), chipboard star (DCWV, covered with brown paper from My Mind's Eye), button (October Afternoon).

I knew that I wanted to create a project that would be useful to me.  As a Russian tutor, I've recently noticed a need for a container to hold all the Russian/Cyrillic memorabilia that I use.  See, instead of just focusing on grammar drills and scripted dialogues in textbooks, I like my students to be able to touch and discuss actual Russian items like coins, banknotes, tickets, food wrappers, etc.  This makes Russian lessons a lot of fun, but it can also lead to little bits and pieces of paper all over my desk.  So, I decided to decorate a jar to hold all these pieces.


As you see, I decorated my jar with an oversized tag that I crafted from scrapbooking paper, stickers, and a handful of odds and ends.  The repurposed items on the tag are postage stamps (carefully removed from letters that I've received from Russian friends) and a label from a Russian teddy bear (the words "с любовью" mean "with love").


The bead shaped like a Russian doll is not actually Russian, to the best of my knowledge.  It came from a local shop, Mosaic on a Stick, a haven for us creative types.


It's also quite interesting to look at the jar from the back (above), in order to see all the items that are inside it.  (By the way, that's just a standard canning jar from my kitchen.  I keep such jars on hand to hold maple syrup, honey, and other bulk liquids from the health food store.)  You'll also find a photo below of the jar's contents--spread out, so that you can see the items better.


Thanks for looking!

Thursday, August 25, 2011

Making the Most of the Remaining Summer Days


When I go around to the shops, they are full of back-to-school and Halloween (already!) merchandise.  When I look at the calendar, I see that summer is almost over.  I'm not ready for this!  As a Minnesotan, I treasure the few warm months of the year, and I'm not ready to say good bye to them yet.  So, I decided to bask in what is left of summer and make three fun projects from my Echo Park "Summer Days" papers.  You saw the three projects (a layout, a card, and an altered mini-album cover) in the photos above.  Read on for the details of how I made these projects.

The first project I created is a layout called "Our Colorful Day of Fun" (below).  I noticed that a lot of the papers in "Summer Days" have polka dots, and I wanted to make a layout that played up these fun, dotty patterns. 


To make this page, you will need the following papers from Echo Park's "Summer Days" collection:

* 14012 Borders patterned paper
* 14003 Rainbow patterned paper
* 14009 Clouds patterned paper

You will also need: one 4x6" (portrait orientation) photo, one 4x4" photo, one 2.5x2.5" photo, a 12x12" sheet of white cardstock, a corner rounder, black ink, a black pen, dry adhesive, and foam adhesive.

Instructions:

1.  From the polka dotted B-side of the Rainbow paper, cut a 4x4" square and a 4x6" rectangle.

2.  Position the two pieces of polka dotted paper and the two larger photographs in a large rectangle, as shown in the layout photo above.  Round the outer corner of each element, then adhere everything to the cardstock.

3.  Trim the green polka dotted strip from the Borders paper.  Using your black pen, write your title on this strip, leaving spaces between the words.  Cut the words apart, ink the edges, and adhere the words to the layout, as shown in the above photo.

4.  Trim a polka dotted cloud from the Clouds paper.  Don't trim right along the edge of the cloud; instead, leave a thin border of the darker blue background.  Use your pen to write your journaling on the cloud.  (On my cloud I wrote: "playground in the morning, 1UP cupcakes in the afternoon"--see photo below).  Adhere the cloud in the lower, right-hand quadrant of the layout.


5.  Ink the edges of the 2.5x2.5" photo, and adhere the photo just below the cloud.

6.  Trim seven different colored circles from the Borders paper.  Ink each circle, then use foam adhesive to attach them to the layout.  Try to make them look like bouncy balls cascading down the page.  This is the last step--your layout is done!  Did you have fun?  I hope so!  Now let's move on to the second "Summer Days" project, which is a card (below).


To make this card, you will need the following papers from Echo Park's "Summer Days" collection:

* 14012 Borders patterned paper
* 14003 Rainbow patterned paper
* 14009 Clouds patterned paper

You will also need: a cream colored 4x 5.5" card base, black ink, a black pen, dry adhesive, and wet adhesive.

Instructions:

1.  Cut a 3x5.5" rectangle from the blue B-side of the Borders paper.  Ink the edges of this cut-out, and adhere it along the center of your card base.

2.  Fussy-cut one white cloud and two blue clouds from the Clouds paper.  Ink the edges of these clouds and set them aside.

3.  Cut a pink, orange, yellow, and green strip from the Rainbow paper.  Ink the edges of the strip, then adhere it diagonally across your card.  Trim off the part of the strip that extends off the card.

4.  Adhere the white cloud at the end of the rainbow.  Let it stick out just beyond the left-hand edge of the card.  Adhere the two blue clouds near the center of the card--let one slightly overlap the rainbow, and tuck the other slightly behind the rainbow.

5.  Trim three two-inch-long yellow strips from the Rainbow paper.  Ink their edges, then adhere them in an asterisk formation in the upper, left-hand corner of the card.  Wet adhesive works best for this.  Fussy-cut a sunburst from the Borders paper, ink its edges, and use dry adhesive to attach it to the center of the "asterisk" that you created.

6.  Use your pen to write your sentiment above and below the blue strip of paper.  My sentiment reads: "When life fills my skies with rain clouds...you are the rainbow that puts a smile back on my face."  Then use your pen to add whimsical bits of doodling to the images on your card (refer to the photo of the card, or use your own ideas).  Your card is done, and I hope you had fun creating it!  The final project is an altered mini-album cover.

I used the ever-popular 5x7" Kolo album for this project.  This is what it looked like before I altered it (below).


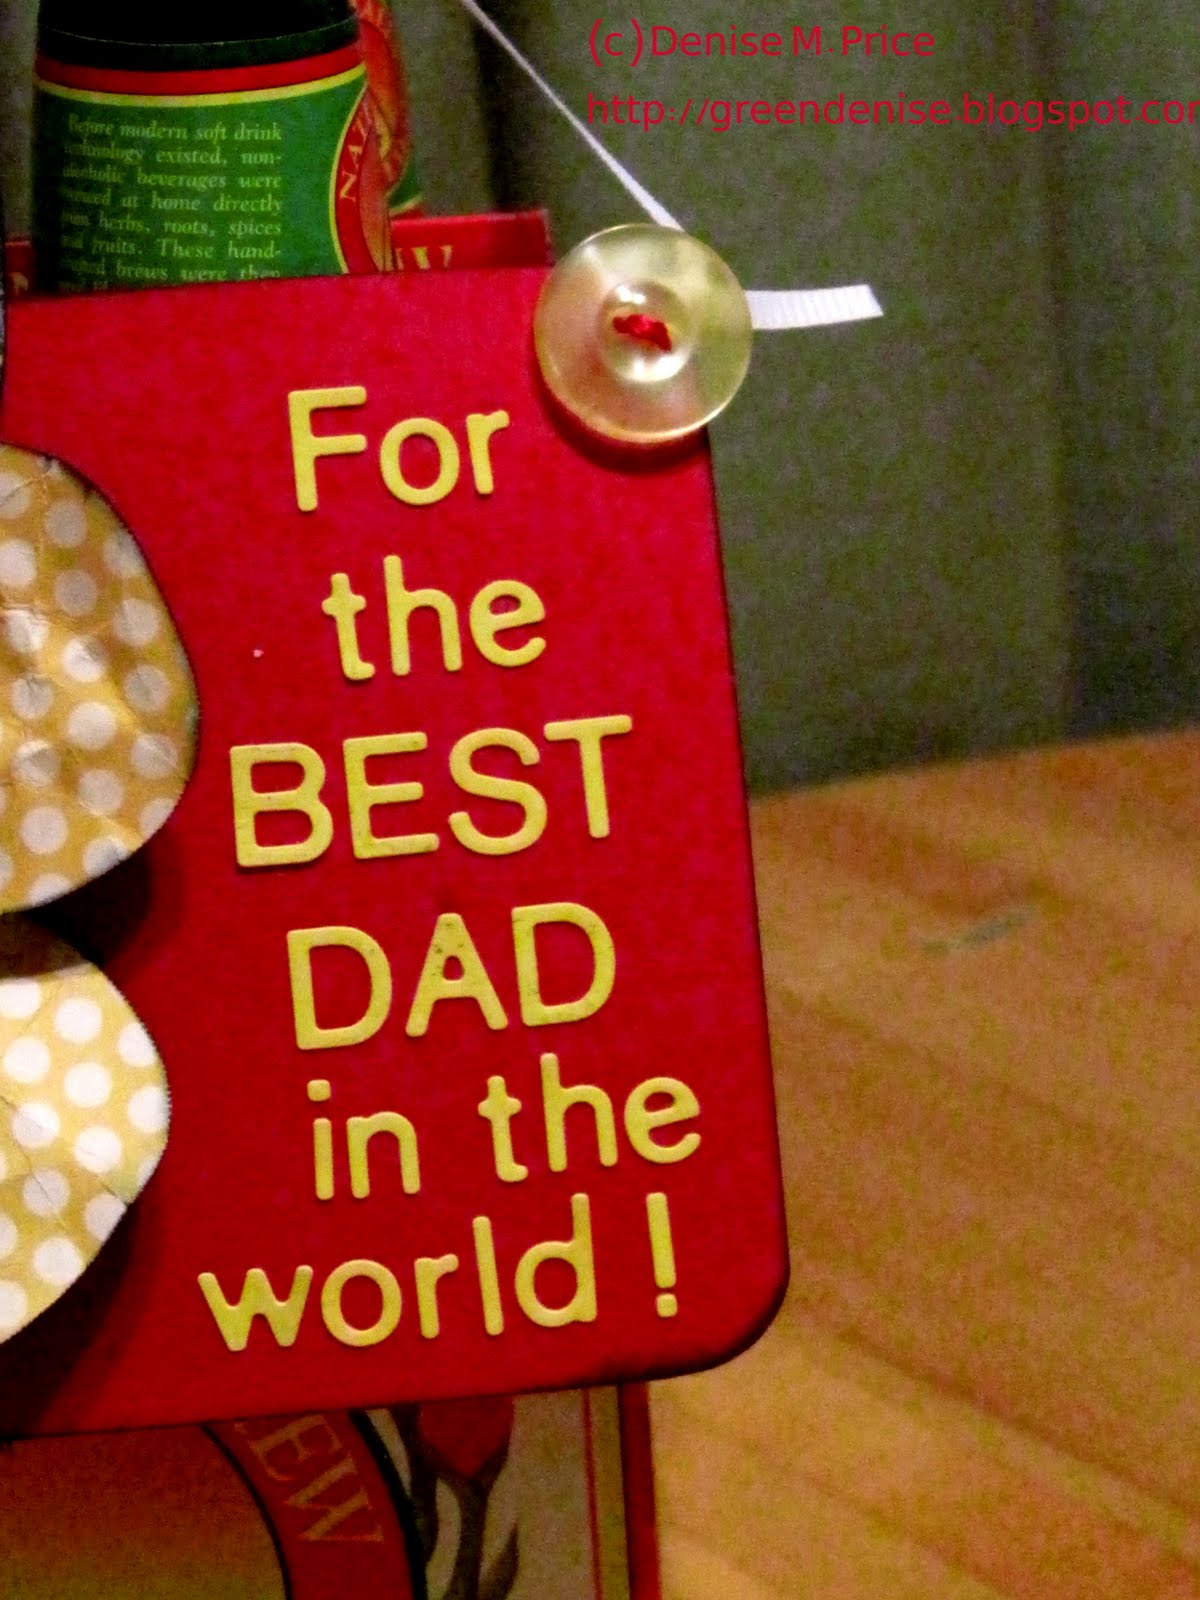
And this is what it looked like after I altered it (below)!


To make this album cover, you will need these two papers from Echo Park's "Summer Days" collection:

* 14012 Borders patterned paper
* 14009 Clouds patterned paper

You will also need: a black pen, a standard office hole punch, black ink, dry adhesive, wet adhesive, and pink embroidery floss (I used DMC color # 3806, but any bright shade of pink will work).

Instructions:

1.  Cut a 3.25x5.25" rectangle (landscape orientation) from the striped B-side of the "Clouds" paper.  Ink the edges, then add a whimsical doodled border, using your pen.  Adhere the rectangle to the front of your album.

2.  Cut a rectangle with three ice cream cones from the Borders paper.  Ink the edges of this rectangle.  Then, mat it with a slightly bigger rectangle, cut from the blue B-side of the Borders paper.  Ink the edges of this mat.

3.  Tie a piece of embroidery floss around the matted rectangle.  Use the hole punch to punch a small circle from any green area of the Borders paper.  Use liquid adhesive to attach the circle to the center of the bow.  Adhere the finished ice cream cone rectangle to the lower, right-hand corner of the striped rectangle on your album.

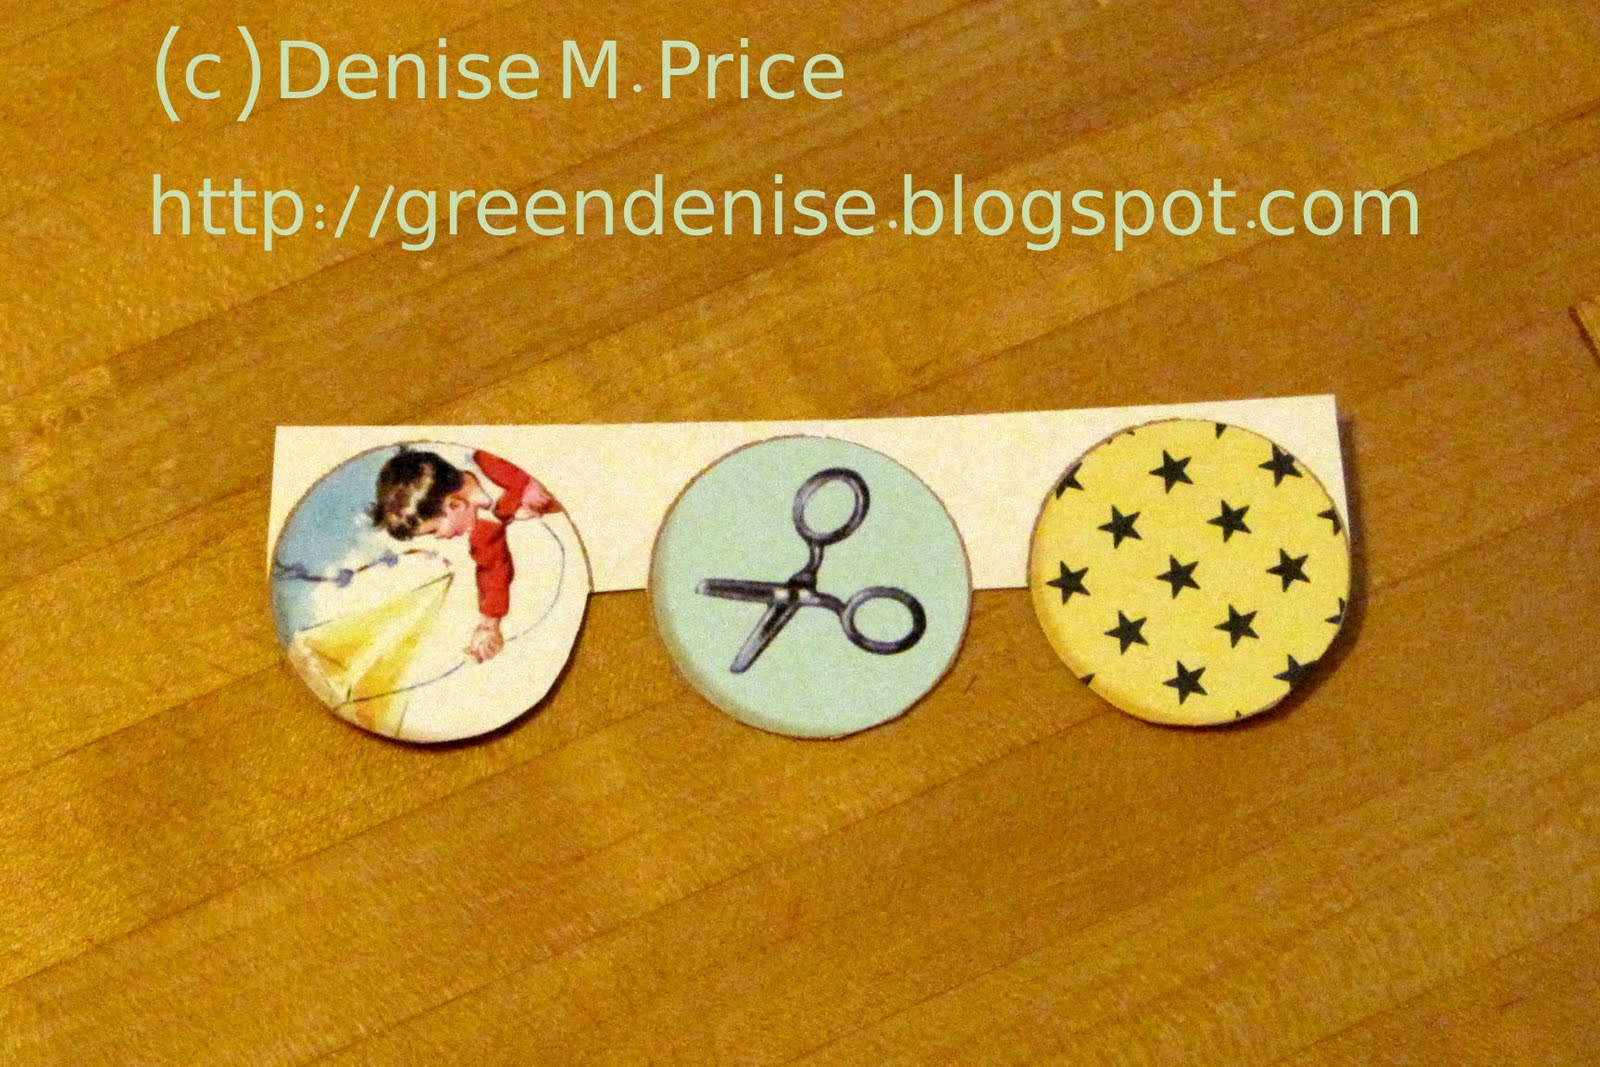
4.  Trim three "Summer Days" logos from the manufacturer identification strip at the bottom of any sheets of Summer Days paper.  Ink the edges of these rectangles, then use dry adhesive to attach a piece of embroidery floss along the back of these logos.  You have just made a banner!  Drape this banner over the upper, left-hand corner of your album, and stick it down with more dry adhesive.

5.  Form four little bows with small pieces of embroidery floss.  Use wet adhesive to attach these bows on either side of each "Summer Days" logo in the banner.  Use your punch to make four more green circles from the Borders paper, and glue one circle over the center of each bow.

6.  For the finishing touch, use your pen to write your title on the striped rectangle.  The lines in the striped pattern will help guide your handwriting.

Congratulations, you've just completed the cover of your mini-album!  Have these three "Summer Days" projects put you back in a summery mood?  I sure hope they did.  I know I feel much happier now.  I still have a few bits and pieces of my "Summer Days" kit left.  I figure that once the weather starts getting cold, I'll cheer myself up by placing summer photos in my mini album and using these bits and pieces to embellish the pages.

Thanks for stopping by my blog to check out these three Echo Park projects.  Enjoy the rest of your summer!

Sunday, August 21, 2011

Shopping!

If you have been reading my blog for awhile, you will know that I try to buy items made in the USA (or Canada, which is quite close).  I really believe in trying to "shop local" in order to reduce my carbon footprint.  This past week I found two great "made in the USA" deals, and I want to share them with you.  I know that not all of my readers are American, and I'm sorry that this post won't be too useful for my international friends.  But where ever you are on the planet, I hope that you will be able to find some great deals on local products next time you go shopping.


The first item I have to share is  a set of shelves (above).  I found these shelves at Home Depot, and they are made in the USA.  And they were on sale for FOUR DOLLARS for the whole set of four shelves!  I think they are meant for college students who will need extra storage space in their new dorm rooms and apartments.  But these shelves are also great for storing craft supplies.  :)  I don't know how long this deal at Home Depot lasts.  (I couldn't find any info about it on their web site.)  But I'm sure that if you phone your local store, you will be able to find out whether these shelves are still in stock and on sale.


The next item is...a bottle cap embellishment (above)!  Seems like I'm not the only person who is crazy about bottle caps right now, because Archivers is offering a free bottle cap make-n-take through Tuesday, August 23 (WSL).  The bottle cap blanks are from Bottle Cap Inc., a company that makes all its products in the USA.  At Archivers, you get to personalize your bottle cap with stamps, embossing powders, acrylic domes, and split rings--all of your choice.  Not all of the materials offered in the make-n-take are from Bottle Cap Inc., but Archivers carries a wide variety of their products, so you can always pick some up if you decide that you like them.

Since my bottle cap from the make-n-take has a split ring, I plan to use it as a necklace pendant, not a page embellishment.  But, since I love bottle caps so much, I decided to use some on a layout this weekend.  Here is the result (below).

Supplies: patterned paper (all from October Afternoon), white cardstock (Wausau Paper), stickers (all from October Afternoon), journaling spot (reused packaging from October Afternoon Lunchbox/Cherry stickers), bottle caps (Bottle Cap Inc.), pen (Zig), flowers (Petaloo).  This page was created in response to a sketch challenge on the October Afternoon blog.

This layout is called "Our Café," and the journaling reads: "Located across the street from Herzen University, this café became a hangout for the students from our group.  Nearly every weekday, we met there to have lunch or a snack between classes.  My favorite things to order were: cabbage rolls, lemon rolls, personal-sized pizzas, sticky buns with poppy seeds, and chocolate cake rolls (a bit like Ho-Ho's, but ten thousand times richer and tastier!).  The same clerk always worked behind the counter, and I think she enjoyed having me as a regular customer  Whenever they had a new dish, she would let me know.  She was happy that I photographed the café."

You know, I really miss that clerk!  She always had great recommendations, and I enjoyed being a "regular" at her café.  Like I mentioned in the journaling, she seemed really glad that I wanted to photgraph the Café and its food, so that I could remember the place always.


As you can see (above), I reinforced the food-and-drink theme of this page by using bottle caps as embellishments.  To fill the centers of the blank bottle caps, I cut out circles (one inch in diameter) from OA dotted paper and spelled the word "cafe" with mini stickers.  In order to make the mini stickers fit inside the circles, I had to trim the tops and bottoms off the stickers, which is why they look more square than rectangular.


To make the three scalloped strips on the layout, I cut out rows of three circles like this (above) from OA "Root Beer Barrels" paper.  Then I flipped the cutouts over (so that the polka-dotted side of the paper was facing up) and adhered the cutouts to my layout.  The coffee cup, layer cake, and teapot circles were also fussy-cut from "Root Beer Barrels." That paper is so useful--you will be seeing it on many of my future layouts.  The sheet I have is beginning to look like Swiss cheese, since I've fussy cut so many circles from it.  :)  I just love how versatile it is!

As always, thanks for stopping by my blog.  If you go shopping this week, I hope you'll find some great deals, whether you buy shelves, bottle caps, or anything else.   

Saturday, August 20, 2011

Less is More

There is a really interesting challenge up at the October Afternoon blog right now.  The idea is to limit yourself to using just one of each type of item on a layout.  I decided to give it a whirl, using some vacation photos.  I chose one patterned card, one journaling card, one set of alphabet stickers, one set of mini type stickers, one label, one button, and one type of fiber.  I put it all together, on a piece of basic black cardstock, and ended up with "One Big Lumberjack," the layout below.  Despite (or maybe because of?) its simplicity, I think it's rather striking.  I guess it's true...less is more!  :)

Supplies: cardstock (Wausau Paper), patterned card (October Afternoon), journaling card (October Afternoon), stickers (all from October Afternoon), button (October Afternoon), pens (Zig), misc. (twine).

The journaling reads: "Everywhere we went when we were Up North, we saw images of Paul Bunyan.  In Pequot Lakes, the water tower is Paul's bobber!"

The arrow sticker at the top of the layout is pointing at a picture of Paul Bunyan, the legendary lumberjack.  The arrow came as part of the Luchbox/Cherry alphabet sticker set (below).  I love how October Afternoon includes extra little shapes like this arrow among their alphabet stickers.  They are so useful!   


The fiber tied through the button holes is from a huge ball of twine that my husband's grandmother gave me many years ago.  Like many people who lived through the Great Depression, she saved anything and everything.  So, every once in a while, she would send me some random items, including this ball of twine, that she thought I might find useful. For years, that ball of twine sat in my closet.  It finally occurred to me that I could use it on my scrapbook layouts.  I'm sure bits of this twine will appear regularly in the projects on my blog, as it really is a HUGE ball of twine.  Thank you, Grandma Dagnie, for your contribution to this scrapbook page!  And thank YOU, blog readers, for taking the time to read this post.  Have a great week!

Monday, August 15, 2011

Pepsi, Sprite, and Fanta, Oh My!

I think I have a new obsession: bottle caps!  After the success of my bottle cap flower card (see previous post), I decided to make a layout with a bottlecap flower.

Supplies: cardstock (Wausau Paper), patterned paper (all from October Afternoon), stickers (all from October Afternoon), adhesive (3M tabs and foam).

This layout is called "Western Influence," and here is the story behind it...  I visited Russia twice as a student in the 1990's.  On my first visit, in 1992, not many western products were available in Russia.  But by my second visit, in 1995, more and more western products were becoming available, for better or for worse.  The photos on this layout show some of the western brands that popped up in Russia in the 1990's: Gino Ginelli cafes, a Barbie doll store, McDonalds, and Gillette personal care products.

As embellishments, I used labels from two Russian beverage bottles...

Sprite (above), and...

Fanta!

And, the pièce de résistance is a Russian Pepsi bottle cap (above)!  (I know, it's a bit scratched and worn, but I have had it since the 1990's.)

I used the bottle labels as templates to cut out similar shapes from some commerce-related paper from the October Afternoon "5 and Dime" line.  The labels are matted, since they are probably not acid-free.  And for the sake of continuity, I also matted the "5 and Dime" cutouts (see example below).


I also used assorted October Afternoon stickers to create some embellishment clusters (two photos below).  Until I created this layout, I never thought I would use the dollar signs in my alpha-numeric sticker packs.  Well, it just goes to show that you should never say never!


As a final touch, I fussy-cut time zone clocks (photo below) from some October Afternoon "Boarding Pass" paper to make a few more embellishments for the page.  Some of these I lifted off the background with foam adhesive, so that the bottle cap would not be the lone dimensional embellishment on the page.  


Yay for reusing bottle caps on scrapbook pages--this was a really fun page to create!  Thanks for stopping by to look at my layout.

Sunday, August 7, 2011

Bottle Cap Flower

There is a new challenge up at the Scrap for Help blog!  This month, participants are free to use any type of recycled material.  The only two requirements are that the project: 1. be for or about a father, and 2. be inspired by one of the cards posted by this month's guest designer, Angie Barrs.  Here is what I came up with (below):

Supplies: cardstock (The Paper Company), patterned paper (My Mind's Eye), wire (Artistic Wire), corner rounder (Creative Memories), alphabet stickers (BasicGrey), ink (Autumn Leaves/Stampology), ribbon (Berwick Offray), buttons (vintage), thread (DMC), adhesive (3M tabs and 3M foam adhesive).


I took my inspiration from this card by Angie.  Since Reed's Ginger Ale (above) is my husband's favorite beverage, I thought he would enjoy having a Reed's bottle cap in the center of his flower (below).  To form the flower petals, I cut petal shapes from patterned paper, and then I crumpled and inked the petals to give them more texture.  I adhered these petals to my card with foam adhesive.  For the second layer of the flower, I twisted some red beading wire into shape, then adhered it atop the paper petals.  Finally, I used more foam adhesive to attach the bottle cap to the center of the flower.


I'm a great fan of yellow-on-red, so I enjoyed creating the sentiment for this card (below).


My husband was out of town on a business trip last week, and when he came home, this is what he found waiting for him: my card, looped over a pack of his favorite ginger ale (below).  After the ginger ale is gone, my husband can hang the card near his desk.


Thanks for looking at my project.  Have a great week!