I am just popping by to say hello and share a quick & easy scrapbook page.
I made this page to showcase a few late-summer photos from the Minnesota Landscape Arboretum. I love this time of year, when the rich, warm colors of autumn are beginning to appear, but the weather is still nice and warm. It's the best of both worlds.
Showing posts with label reuse. Show all posts
Saturday, September 8, 2018
Tuesday, October 27, 2015
Guest Designing for City Crafter Challenge Blog
On my blog I have a tradition of sharing a stash-busting idea each month. This month, I'll be talking about the technique of layering. It's fun to do, it's a popular trend at the moment, and it helps you use up your stash of scrap papers. I used layering on this card in order to draw attention to my bat image, which is rather small. The layers behind it help it stand out and look important and interesting. I built up this layered mat using just scraps. This was a great way to use up lots of leftover bits of paper.
I added a heavy coat of black ink to the edges of each of my paper layers. Not only does this play up the nighttime/darkness aspect of the challenge, but it also make the rich colors of the papers really pop.
To add darkness to my card base, I randomly swiped on black gesso to make an interesting background. I also painted a scalloped chipboard frame with the same black gesso.
My paper layers had a lot of green in them, so I felt like the chipboard frame and the background needed a touch of green, for the sake of unity. I added this green by stamping with bubble wrap and green metallic paint. After the paint was dry, I put my card together, first placing the layered papers on the card base, then adhering the chipboard frame, which I had dressed up with bokeh vellum and enamel dots. I topped it all off with the cute stamped bat, and I added a sentiment and a couple of stamped stars as well.
I'll leave you with one last look at the card. If you feel inspired, then go ahead and play along with the "Creatures of the Night" challenge at City Crafter Challenge Blog. The challenge runs for a week. Happy crafting!
Monday, August 31, 2015
Summer Travel 2015: A Tale of Three Parks
Hello, all! As I mentioned in my previous post, my family went on vacation earlier this month. We traveled "up north" and visited three different state parks. Today, I'd like to share some of my vacation photos with you.
Traveling north from the Twin Cities, our first stop was at Wild River State Park. At this park we enjoyed taking in scenic views of the Saint Croix River and doing activities in the visitor center. I have even managed to scrapbook my photos from this park visit already!
When we left the Twin Cities, we thought that we had left our library adventures behind; however, we discovered a delightful little library in the Wild River Park visitor center. I love the rough-hewn book shelves with the bark still on them. There was also a hot beverage station for the park's library patrons. I imagine that this cozy book nook is a godsend for campers who experience cold or rainy weather at the park and want to warm up for awhile. However, it was sunny and hot on the day that we visited, so we did not stop to read or have a hot drink. We only stopped long enough to admire the charm of the library.
The weather did turn cold for us later in the trip, when we visited Banning State Park. You can see that instead of shorts and tee shirts we're in long pants and sweaters. I have already scrapbooked this photo as well. I blogged about that scrapbook page in a previous post.
We got rained on lightly during our last park visit, which was at St. Croix State Park. Luckily, this park has a scenic driving path, so we were able to enjoy the park from the car. As you can see from the photo above, St. Croix State Park is a beautiful place for a country drive. I haven't scrapbooked this photo yet, but I hope to get to it soon. I'll be sure to share the finished page with you when it's ready. Until then, take care!
Traveling north from the Twin Cities, our first stop was at Wild River State Park. At this park we enjoyed taking in scenic views of the Saint Croix River and doing activities in the visitor center. I have even managed to scrapbook my photos from this park visit already!
When we left the Twin Cities, we thought that we had left our library adventures behind; however, we discovered a delightful little library in the Wild River Park visitor center. I love the rough-hewn book shelves with the bark still on them. There was also a hot beverage station for the park's library patrons. I imagine that this cozy book nook is a godsend for campers who experience cold or rainy weather at the park and want to warm up for awhile. However, it was sunny and hot on the day that we visited, so we did not stop to read or have a hot drink. We only stopped long enough to admire the charm of the library.
The weather did turn cold for us later in the trip, when we visited Banning State Park. You can see that instead of shorts and tee shirts we're in long pants and sweaters. I have already scrapbooked this photo as well. I blogged about that scrapbook page in a previous post.
We got rained on lightly during our last park visit, which was at St. Croix State Park. Luckily, this park has a scenic driving path, so we were able to enjoy the park from the car. As you can see from the photo above, St. Croix State Park is a beautiful place for a country drive. I haven't scrapbooked this photo yet, but I hope to get to it soon. I'll be sure to share the finished page with you when it's ready. Until then, take care!
Monday, June 29, 2015
Three Ways to Get Creative with Bubble Wrap
How have I not yet dedicated a destashing post to bubble wrap? It's something that a lot of us hang on to, and we plan to incorporate it into our art at some point. If you have a piece or two (or more) of bubble wrap that you've been meaning to get around to using, this post is for you. I'll show you three ways to use it.
To start out with the basics, you can use bubble wrap as a stamp with a regular ink pad.
Then, you can take bubble wrap stamping to the next level by stamping with acrylic paint. Using a mix of colors (I used green and white here) creates an interesting marbled effect.
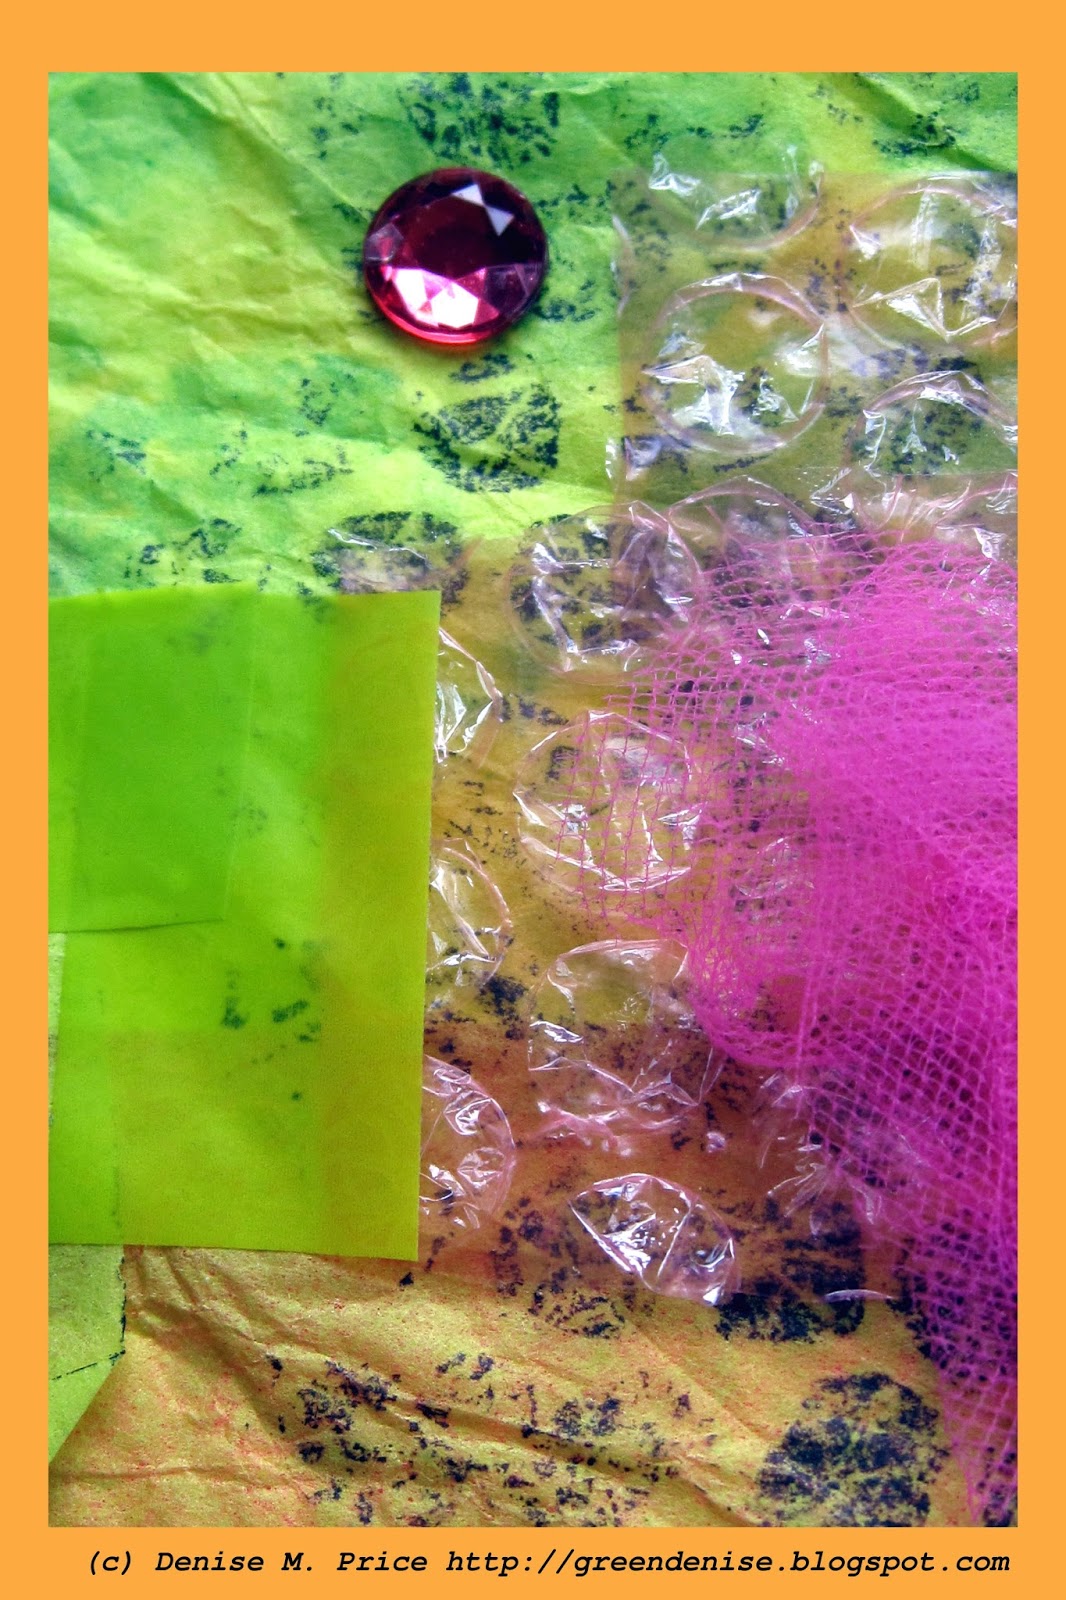
Finally, to add playful texture to your work, you can use bits of bubble wrap as layers and embellishments, as I have done with this pretty pink bubble wrap. (Wondering where to get pink bubble wrap? Electronics come packaged in it; the pink color indicates that it has anti-static properties.)
And...that's a wrap. (Oooh, bad pun. *Smile & groan.*)
To start out with the basics, you can use bubble wrap as a stamp with a regular ink pad.
Then, you can take bubble wrap stamping to the next level by stamping with acrylic paint. Using a mix of colors (I used green and white here) creates an interesting marbled effect.
Finally, to add playful texture to your work, you can use bits of bubble wrap as layers and embellishments, as I have done with this pretty pink bubble wrap. (Wondering where to get pink bubble wrap? Electronics come packaged in it; the pink color indicates that it has anti-static properties.)
And...that's a wrap. (Oooh, bad pun. *Smile & groan.*)
Monday, February 2, 2015
Party Time!
I have a Christmas page to share today. I know that Christmas was a while ago, but I thought I might not be the only person who is still scrapping holiday photos. Plus, even though my subject matter may not be up-to-the-minute, my inspiration is. I love all the new party-themed scrapbooking supplies that debuted at CHA 2015 last month. But being me, I decided to go the "green" route and decorate my page with actual party supplies instead of purchased scrapbook embellishments.
Side note: yes, my son is wearing shorts in that Christmas photo. He always wants to wear shorts at home, even in the dead of winter. I think it's because he's so active, he never seems to get cold. We do make him dress warmly when we go out of the house, though. Anyway, back to the scrapbook page.
As much as possible, I try to save and reuse gift wrap. That includes these green paper shreds, which were used as packing material in a gift that I received. Most of them went into my gift wrap box, to be used again next Christmas. However, I did set aside a few shreds to use in scrapbooking, and they made their way onto this page.
I also try to save gift bows to use again. Instead of reusing this one to adorn a gift, though, I placed it on my page. It makes a fun dimensional embellishment, and it squishes down well to fit in my album (as this photo shows).
Are you excited about the "party trend" in scrapbooking supplies? I think these supplies are cute, and I'm sure you'll see me using them again sometime soon.
![]() |
| Supplies: patterned paper from Little Yellow Bicycle, cardstock from Neenah Paper; ink from Clearsnap; pen from Zig; reused Christmas wrapping supplies. |
Side note: yes, my son is wearing shorts in that Christmas photo. He always wants to wear shorts at home, even in the dead of winter. I think it's because he's so active, he never seems to get cold. We do make him dress warmly when we go out of the house, though. Anyway, back to the scrapbook page.
As much as possible, I try to save and reuse gift wrap. That includes these green paper shreds, which were used as packing material in a gift that I received. Most of them went into my gift wrap box, to be used again next Christmas. However, I did set aside a few shreds to use in scrapbooking, and they made their way onto this page.
I also try to save gift bows to use again. Instead of reusing this one to adorn a gift, though, I placed it on my page. It makes a fun dimensional embellishment, and it squishes down well to fit in my album (as this photo shows).
Are you excited about the "party trend" in scrapbooking supplies? I think these supplies are cute, and I'm sure you'll see me using them again sometime soon.
Sunday, December 28, 2014
I Love Christmas Cards, Part Two
ETA: this card set won the final Color Room challenge!
December is a fun time for receiving cards in the mail, and it's a great time for making them, too.
I loved this month's bright color combo at The Color Room, and I was especially inspired by how TCR design team member Sanna Lippert made three coordinating cards. As you saw above, I felt compelled to make three cards as well.
Card #1 is a Christmas card. I got some design ideas from this snack packaging, as far as the overlapping strips go. :)
Card #2 is a birthday card. I used one of my current favorite stamps, that cute little penguin.
Card #3 is a Christmas/New Year's card. People say that penguins can't really fly, but this little penguin flew all the way to Russia...
...to the home of my friend, fellow paper crafter Irina Rakovets. You can check out her blog to see her post about the handmade card exchange that she and I did this year. (Thanks again, Irina!!!)
To close out this post, I want to say a special thank you to The Color Room. This is their final challenge, one of many that has inspired me over the years. In fact, TCR challenges were the very first ones I ever took part in--even before I had my own blog. I have loved playing along with TCR, even more so this past year when they added a requirement to use upcycled/household materials for each challenge. (By the way, did you spot the upcycled scraps of blue wrapping paper on each of my cards?) TCR girls, thanks for all the wonderful memories and inspiration. As I said in my OUAS post ("I Love Christmas Cards, Part One") this isn't good bye. I'm sure I'll still see you ladies around the Internet. :)
December is a fun time for receiving cards in the mail, and it's a great time for making them, too.
I loved this month's bright color combo at The Color Room, and I was especially inspired by how TCR design team member Sanna Lippert made three coordinating cards. As you saw above, I felt compelled to make three cards as well.
Card #1 is a Christmas card. I got some design ideas from this snack packaging, as far as the overlapping strips go. :)
Card #3 is a Christmas/New Year's card. People say that penguins can't really fly, but this little penguin flew all the way to Russia...
...to the home of my friend, fellow paper crafter Irina Rakovets. You can check out her blog to see her post about the handmade card exchange that she and I did this year. (Thanks again, Irina!!!)
To close out this post, I want to say a special thank you to The Color Room. This is their final challenge, one of many that has inspired me over the years. In fact, TCR challenges were the very first ones I ever took part in--even before I had my own blog. I have loved playing along with TCR, even more so this past year when they added a requirement to use upcycled/household materials for each challenge. (By the way, did you spot the upcycled scraps of blue wrapping paper on each of my cards?) TCR girls, thanks for all the wonderful memories and inspiration. As I said in my OUAS post ("I Love Christmas Cards, Part One") this isn't good bye. I'm sure I'll still see you ladies around the Internet. :)
I Love Christmas Cards (OUAS)
Every Christmas I get cool cards from friends all over the world. Over the years, I've used many different methods for saving the cards in my scrapbooks. I've tried scrapping all the cards, but that takes more than one page. I've tried putting all the cards in a clear pocket, but that makes for a bulky page. Last year, I cut out my friends' signatures from the cards, and that worked really well, making for a fun, interesting, sleek page. I decided to do something similar this year, cutting out and scrapping bits and pieces from my friends' cards, as well as one complete red envelope.
To design the page, I used this sketch from Once Upon A Sketch, where the theme for the month is "It's December..." I substituted the red envelope for the photo (since they're about the same size), and I journaled on the envelope.
I filled in the rest of the journaling/embellishment area with the bits and pieces trimmed from the cards. Here you can see Christmas greetings in English, French, Dutch, German, Polish, Russian, and Hungarian.
The pièce de résistance is this paper star, which one of my friends created from folded tea bag wrappers and a pretty button. She did such a fabulous job on it, I just had to feature it prominently on my page.
Creating an international-themed project seemed especially appropriate this month, to honor OUAS's international team on the occasion of their final challenge. Thanks for all the great memories, OUAS. This is not good bye; I'm sure we'll be seeing each other around the Internet. :)
To design the page, I used this sketch from Once Upon A Sketch, where the theme for the month is "It's December..." I substituted the red envelope for the photo (since they're about the same size), and I journaled on the envelope.
I filled in the rest of the journaling/embellishment area with the bits and pieces trimmed from the cards. Here you can see Christmas greetings in English, French, Dutch, German, Polish, Russian, and Hungarian.
The pièce de résistance is this paper star, which one of my friends created from folded tea bag wrappers and a pretty button. She did such a fabulous job on it, I just had to feature it prominently on my page.
Creating an international-themed project seemed especially appropriate this month, to honor OUAS's international team on the occasion of their final challenge. Thanks for all the great memories, OUAS. This is not good bye; I'm sure we'll be seeing each other around the Internet. :)
Monday, November 10, 2014
10 on the 10th: Autumn Colors
Hi everyone! Today is November 10, so it's time for my "Ten on the Tenth" post for my monthly destashing series. Even though meteorologists are predicting a massive snowfall for today, my theme for this post is autumn supplies. Here is the kit that I put together for this month.
That is the same My Mind's Eye stamp set that I used last month. It has so many stamps that I just felt like I could get a lot more out of it by using it again for another month (and well into the future, I'm sure). For the last couple months I came up a little short on paper in my Ten on the Tenth kits, so I made sure to include lots of paper this time. Speaking of which, here is a photo that shows the flipsides of the papers. It also shows a closer look at the tiny oak leaf stamp.
Making sure I included lots of paper in my supply kit this time certainly paid off, because the first project I ended up making was this double page layout called "Hello Fall."
It's always difficult to showcase a big, two-page layout on a blog, so feel free to click on the photo to enlarge it. I've also included a closeup shot of the journaling.
Hip, hip, hooray for getting ten photos onto this layout! I placed the photos in a basic grid design, and I used embellishment clusters to separate the photos (see below).
The Simple Stories products from my kit are basically made to go onto this sort of a grid layout. I had fun using these supplies for their intended purpose, but for my second project I shook things up a bit. My second project is a one-page layout, created on the back of the first page from the two-page layout. Instead of creating another grid page, I made circular shapes the focus of this layout. I used the empty tape roll as a template for cutting the circles from my photos and papers, and I also used the tape roll as a guide for adding chalk lines.
At this point you may be saying, "Wait, Denise, if your first project is a layout, your second one is supposed to be a card. You made that rule yourself!" Never fear, I made a card as well, and here it is (below). As you see, I went back to a grid design for this one. I thought about adding a sentiment or a small embellishment to break up the grid a bit, but in the end I decided to leave the card as-is. I just love the patterned papers so much, I didn't want to do anything to take the focus off of them. Plus, without a sentiment to "pin it down," this card can be for almost any occasion.
Usually I make just three projects with each Ten on the Tenth kit, but this time I was able to make a fourth project. Yay, bonus! This one used up all the leftover bits from the kit. I made it on the back of the second page of the two-page layout. You may have already seen this one, since I used it as my October entry for the Berry 71 Bleu challenge.
All together, with this kit I was able to create one card, one double-page layout, and two single-page layouts. I scrapped a total of two dozen photos, which felt very, very satisfying. I'd say I definitely got the most from this kit. And the best thing is that I made everything using supplies that I already had in my stash. Thanks for coming to look at everything that I made. I hope I inspired you!
That is the same My Mind's Eye stamp set that I used last month. It has so many stamps that I just felt like I could get a lot more out of it by using it again for another month (and well into the future, I'm sure). For the last couple months I came up a little short on paper in my Ten on the Tenth kits, so I made sure to include lots of paper this time. Speaking of which, here is a photo that shows the flipsides of the papers. It also shows a closer look at the tiny oak leaf stamp.
Making sure I included lots of paper in my supply kit this time certainly paid off, because the first project I ended up making was this double page layout called "Hello Fall."
![]() |
| Additional supplies: enamel shapes & puffy stickers from October Afternoon; stamping paper from Basic Grey; stamping ink from Hero Arts; pens from Zig; household twine. |
It's always difficult to showcase a big, two-page layout on a blog, so feel free to click on the photo to enlarge it. I've also included a closeup shot of the journaling.
Hip, hip, hooray for getting ten photos onto this layout! I placed the photos in a basic grid design, and I used embellishment clusters to separate the photos (see below).
The Simple Stories products from my kit are basically made to go onto this sort of a grid layout. I had fun using these supplies for their intended purpose, but for my second project I shook things up a bit. My second project is a one-page layout, created on the back of the first page from the two-page layout. Instead of creating another grid page, I made circular shapes the focus of this layout. I used the empty tape roll as a template for cutting the circles from my photos and papers, and I also used the tape roll as a guide for adding chalk lines.
![]() |
| Additional supplies: ink from Hero Arts; pens from Zig; chalk from Stampin' Up; puffy stickers, enamel shapes, & flair badges from October Afternoon. |
At this point you may be saying, "Wait, Denise, if your first project is a layout, your second one is supposed to be a card. You made that rule yourself!" Never fear, I made a card as well, and here it is (below). As you see, I went back to a grid design for this one. I thought about adding a sentiment or a small embellishment to break up the grid a bit, but in the end I decided to leave the card as-is. I just love the patterned papers so much, I didn't want to do anything to take the focus off of them. Plus, without a sentiment to "pin it down," this card can be for almost any occasion.
![]() |
| Additional supply: brown ink from Tsukineko. |
Usually I make just three projects with each Ten on the Tenth kit, but this time I was able to make a fourth project. Yay, bonus! This one used up all the leftover bits from the kit. I made it on the back of the second page of the two-page layout. You may have already seen this one, since I used it as my October entry for the Berry 71 Bleu challenge.
![]() |
| ~previously blogged here~ Additional supplies include 8.5 x 11" kraft cardstock from Neenah Paper, stickers from October Afternoon, die cut leaves from Doodlebug, and Candi dots from Craftwork. |
All together, with this kit I was able to create one card, one double-page layout, and two single-page layouts. I scrapped a total of two dozen photos, which felt very, very satisfying. I'd say I definitely got the most from this kit. And the best thing is that I made everything using supplies that I already had in my stash. Thanks for coming to look at everything that I made. I hope I inspired you!
Friday, October 10, 2014
10 on the 10th--Favorite Color Combo
What have we here? Lots and lots of hearts! I "heart" the color combo that I used this month for my Ten on the Tenth projects, and I can't wait to show you what I made! Let's get started.
What is "Ten on the Tenth" all about? On a monthly basis I pull ten items from my stash and form a kit. Then I challenge myself to use the kit to create three projects--a card, a scrapbook page, and a use-up-the-scraps project. Each month I choose a different theme or color scheme for the kit. This time I chose a turquoise/gold/brown scheme, and you can see my kit pictured above. I've enjoyed creating with this color scheme in the past (for example, here and here), so I thought it would be fun to really focus in on these colors for a month.
First up I want to show you the card that I made. When I send out the baby onesies that I dyed over the summer, this card can accompany the gift.
I liked the design that I used last month for my Color Room card, so I used the same design for the baby card. While the two cards differ in style, the design is the same. Why reinvent the wheel? Sticking with a familiar design speeds up the creative process.
I'm also sticking with my theory that a combination of hard textures (like enamel dots) and soft textures (like paper frills and a puffy sticker) helps create a successful design. I have an analytical mind, and I like to try to figure out the nuts and bolts of how something like design works.
![]() |
| ~previously blogged here~ |
Regular readers of my blog have already seen the scrapbook page that I created with my kit. If you missed it, here it is again. As with the card, I focused on using contrasting textures when I created this layout.
Now we're back to where we started with this post: a heart-filled photo. After creating a card and scrapbook page with this kit, I had only a few, oddly shaped scraps left. I grabbed a sheet of peach cardstock and stuck the larger scraps to it, to form the foundation of a scrapbook page. To use up the smaller scraps, I punched hearts in them and used them as stencils. (That ledger print is the flipside of the damask paper.)
The cardstock that I decorated with these scraps and stencils became a layout for my newest Child's Play Challenges design team sample. That layout will go live, both here and on the CPC blog, on October 15. In the meantime, I've left you with just a little sneak peek image. I hope you'll be able to come back on the 15th for reveal day. In any case, thanks for stopping by my blog today, to see my card, my layout, and my use-up-the-scraps process for this month's Ten on the Tenth kit. Happy scrapping!
Saturday, September 27, 2014
Special Thank You Card
Color palettes are among my favorite challenges, because they can be interpreted so freely. They truly ignite my creativity. This month I enjoyed playing along with the Color Room palette #172. I made a thank you card.
Here's the palette...
I especially liked the grey/white horizontal striped pattern on the chair in the inspo picture, so I decided to use striped paper in my card as well.
I used a fancy toothpick, striped paper, and some word stickers to fashion a flag embellishment. Holy cow, this card is going to have to be for a very special person, on a very special occasion, if I'm going to be proclaiming "can't live without you." I'll have to save it until just the right day rolls around. :)
Lately I cannot seem to stop making ribbon ruffles. I made one for a layout recently; now I've made one for a card. Could this be the start of a ruffle addiction?
I've recently been noticing that my most successful projects combine both soft and hard textures. With that in mind, I've been making a special effort to combine textures. On this card the wooden "flagpole," the enamel dot, and the green rhinestones are "hard," while the puffy stickers, ribbon, and distressed paper are "soft."
How about you? What qualities to you feel a successful project must have? I'm interested to hear your ideas!
Here's the palette...
![]() |
| image source: http://www.thecolorrooms.com/tcr-blog/palette-172-september |
I especially liked the grey/white horizontal striped pattern on the chair in the inspo picture, so I decided to use striped paper in my card as well.
I used a fancy toothpick, striped paper, and some word stickers to fashion a flag embellishment. Holy cow, this card is going to have to be for a very special person, on a very special occasion, if I'm going to be proclaiming "can't live without you." I'll have to save it until just the right day rolls around. :)
Lately I cannot seem to stop making ribbon ruffles. I made one for a layout recently; now I've made one for a card. Could this be the start of a ruffle addiction?
I've recently been noticing that my most successful projects combine both soft and hard textures. With that in mind, I've been making a special effort to combine textures. On this card the wooden "flagpole," the enamel dot, and the green rhinestones are "hard," while the puffy stickers, ribbon, and distressed paper are "soft."
How about you? What qualities to you feel a successful project must have? I'm interested to hear your ideas!
Wednesday, September 17, 2014
CPC Mid-Month Challenge
Hi, everyone! I'm here to introduce the mid-month challenge over at the scrapbooking blog Child's Play Challenges. During the month of September, we want to see how the book The Cat in the Hat inspires you! Here's my design team sample.
Obviously there are lots of directions you could go with this challenge. You could create a page about a pet cat. But I did that for my last CPC reveal, and I wanted to do something different. You could make a page about a Cat in the Hat themed attraction, which I have done that before too. What I finally decided to do for this DT sample was limit myself to the same red, blue, black, and white palette of Dr. Seuss's famous book.
As far as subject matter goes, I chose a photo from a local nature center--nothing related to cats at all. Good thing we're all about creative interpretation at Child's Play! Speaking of creative, I did a bit of mixed media work on this layout. I stamped a pattern of circles with black ink and jumbo bubble wrap, I used an old plastic lid to stamp with pearlescent paint, and I scattered an array of sparkly bits and bobs across a black gesso background.
Little did I know, when my husband took this photo of me a couple years ago, that it would one day remind me of a silly pop song. You just gotta love "What Does the Fox Say," right?
I want to remind you that this Cat in the Hat challenge runs concurrently with our sequins challenge. Head on over to Child's Play Challenges to enter one or both of these challenges. Happy scrapping!
Obviously there are lots of directions you could go with this challenge. You could create a page about a pet cat. But I did that for my last CPC reveal, and I wanted to do something different. You could make a page about a Cat in the Hat themed attraction, which I have done that before too. What I finally decided to do for this DT sample was limit myself to the same red, blue, black, and white palette of Dr. Seuss's famous book.
As far as subject matter goes, I chose a photo from a local nature center--nothing related to cats at all. Good thing we're all about creative interpretation at Child's Play! Speaking of creative, I did a bit of mixed media work on this layout. I stamped a pattern of circles with black ink and jumbo bubble wrap, I used an old plastic lid to stamp with pearlescent paint, and I scattered an array of sparkly bits and bobs across a black gesso background.
Little did I know, when my husband took this photo of me a couple years ago, that it would one day remind me of a silly pop song. You just gotta love "What Does the Fox Say," right?
I want to remind you that this Cat in the Hat challenge runs concurrently with our sequins challenge. Head on over to Child's Play Challenges to enter one or both of these challenges. Happy scrapping!
Subscribe to:
Posts (Atom)